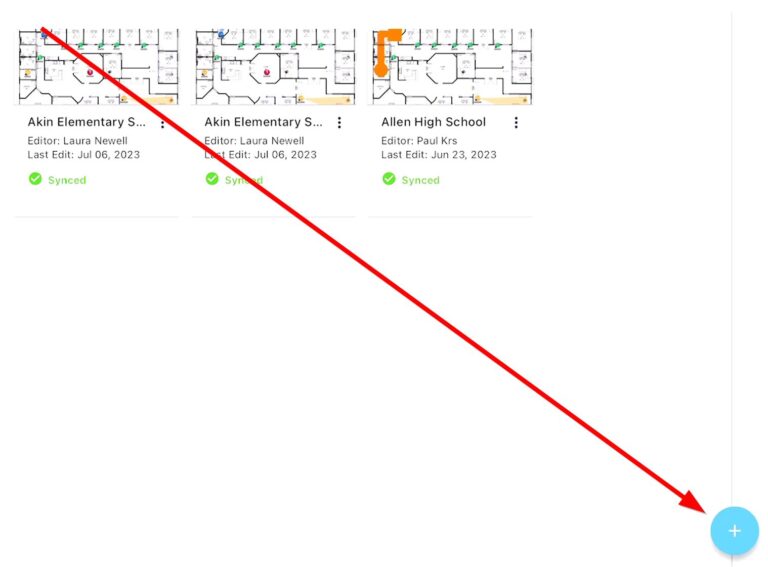
To start a new survey, navigate to the Site page, press the ‘+’ button at the bottom right and select ‘New Survey’ .
Next, you’ll choose where the survey’s floorplan will be imported from:
Photo Gallery: Select a photo from your device’s camera gallery.
Camera: Take a photo with your device’s camera and create a survey from it directly.
Satellite Image: Use Google Maps to create a floorplan using an aerial satellite image.
*Fun Fact – Google Maps will automatically set the scale for your floorplan.Local Files: Browse your device’s local storage (for instance iCloud Drive or DropBox) and select a file.
Quick Start: Create a blank survey.
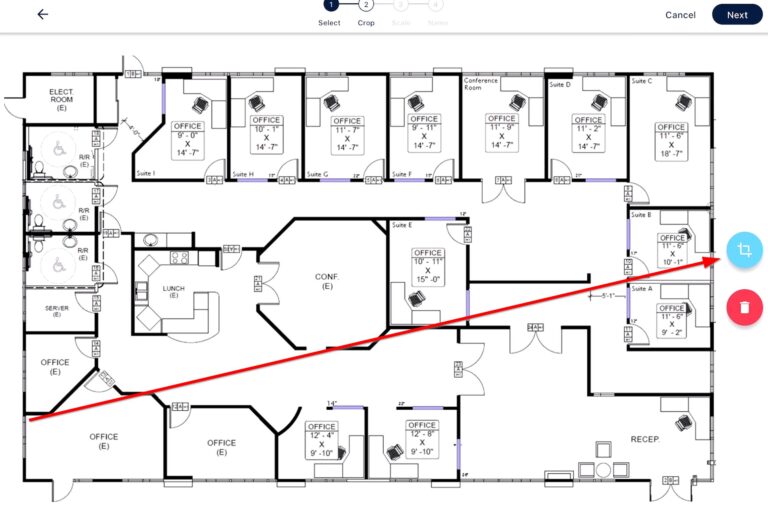
Step 1: Crop and rotate your floorplan by selecting the ‘crop’ icon on the right.
A panel on the left will appear giving you options to rotate, undo crop, or resize. You can manually crop your survey by dragging one of the corners to the desired area.
When you are done, select the green check on the upper left and then press next on the upper right.
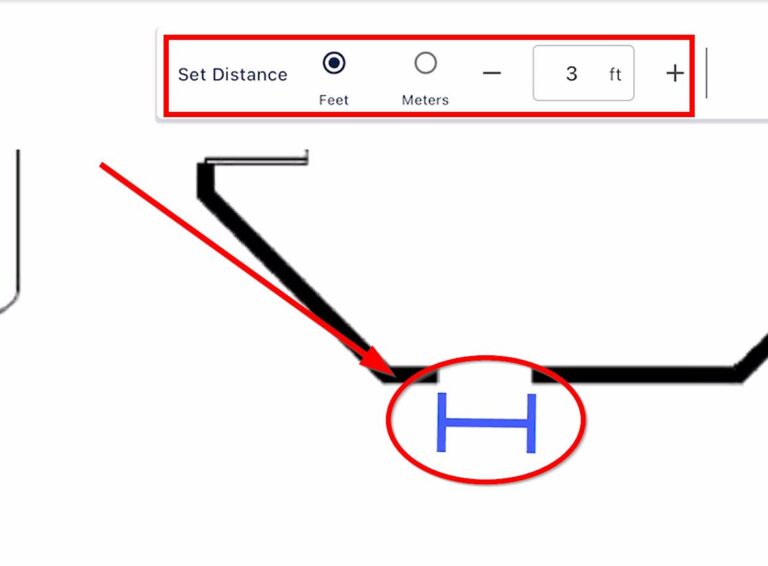
Step 2: Set the distance reference for your survey and select the size of the icon on the floorplan (unless using a satellite image).
Pro Tip – Setting the scale is important for getting accurate measurements for your devices and Bill of Materials.
Using the blue scale tool, set your reference on the floorplan then type the distance in the box above. You can choose either feet or meters.
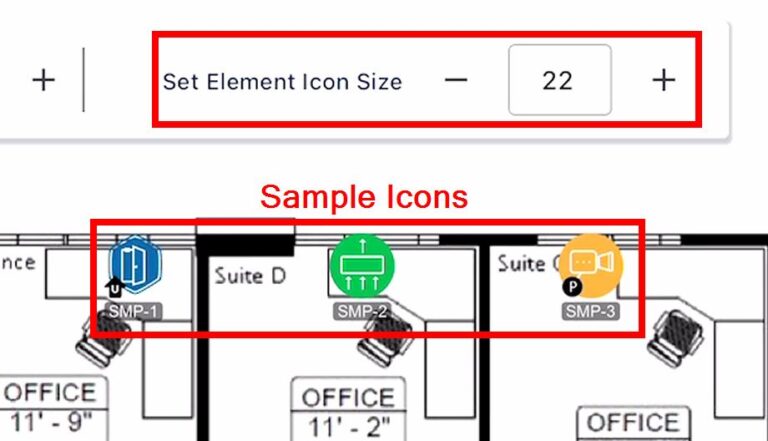
To change the icon size, use the ‘+’ and ‘-’ buttons next ‘Set Element Icon Size’ and use the sample icons as a reference.
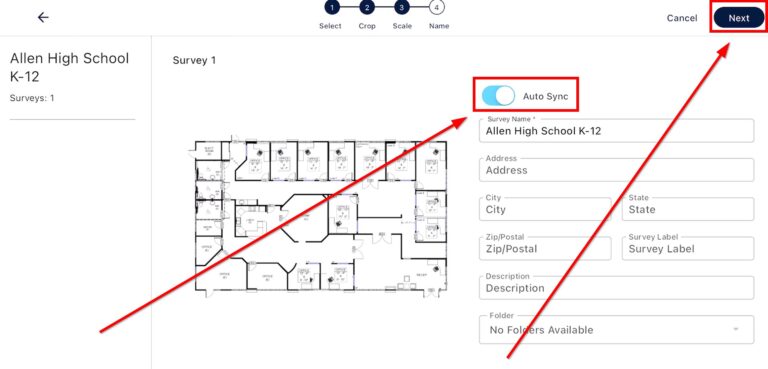
Step 3: Name your survey and add location details.
Pro Tip – You can toggle the ‘Auto Sync’ option for that survey. This is a great way to automatically sync your survey to the cloud and ensure no lost work!