Now, it’s Installation time! Find out why having a digital floor plan will make INSTALLATION easy, fast and efficient.
Every day, installers face the difficulty of interpreting someone else’s site walk notes and surveys. Where should the camera be installed exactly? What is the area of coverage expected by the customer? How should the projector face the room? It gets lost in translation so easily.
In the installation process, many aspects can be overlooked when the process is unorganized. Interpreting plans and notes can be difficult out in the field. It is inefficient when installers are unable to install a device because drawings and notes taken on a paper floor plan are misunderstood. In installation, a picture is worth a thousand words.
Follow these tips on how to use System Surveyor to clear up the lines that blur between account managers, engineers and installers:
- Engineers should map out, annotate, and provide pictures in digital floor plans for the installer to reference.
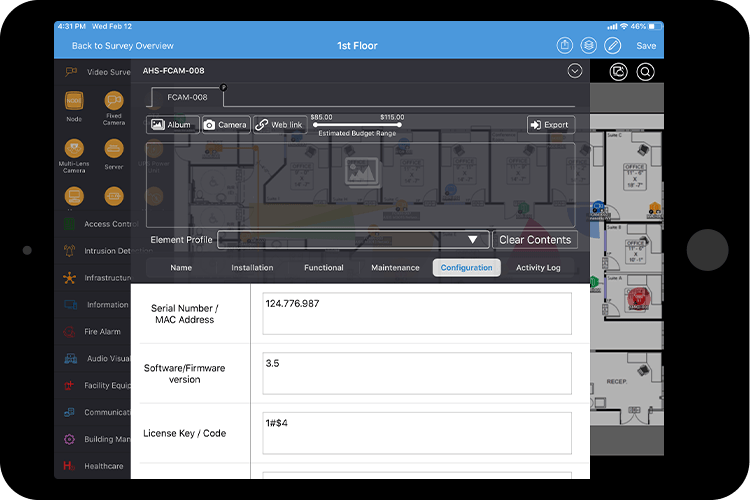
Rather than paper floor plans to capture site survey information that needs to get translated over the CAD, System Surveyor allows the site surveyor to annotate a digital floor plan in real-time on mobile tablet. They can drag and drop the elements with ease, make clear and concise notes, and attach pictures to each element. This will provide a clear picture to the installer without guesswork.
- Secure collaboration.
Normally, installers have to collaborate with the engineers and the customers prior to the installation process. By using System Surveyor, the installer can have pre-approved digital plans and the opportunity to collaborate real-time in the case of a question for the engineer or customer.
- Leverage the five categories of notes and attributes.
Under the attributes tab for each element is a notes section including Name, Installation, Functional, Maintenance and Configuration. Installers can clearly read and understand an engineer’s site walk notes in detail, simplifying the process for each element. See the Working on a Site and Survey video.
- Update installation status and info for each element.
Under the Installation tab, installers can make notes on the status of installation and any additional notes on details regarding that specific element. It’s instant documentation without work back at the office.
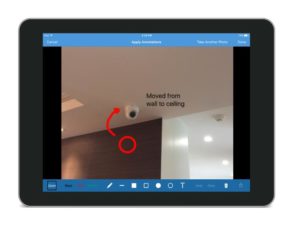
- Use photo annotations to specify and clarify where an element should be installed.
With the photo annotations feature, installers can have the precise location a customer wants the device installed. A photo with markings and notes clarifies the process for all involved.
If both engineers and installers follow these tips with System Surveyor, they can implement systems that are right the first time and improve customer satisfaction. The process will be more timely and efficient resulting in a better work-life environment for everyone.
Come back soon to see the next blog on SERVICE and how System Surveyor can help improve the speed and performance of service delivery.

